
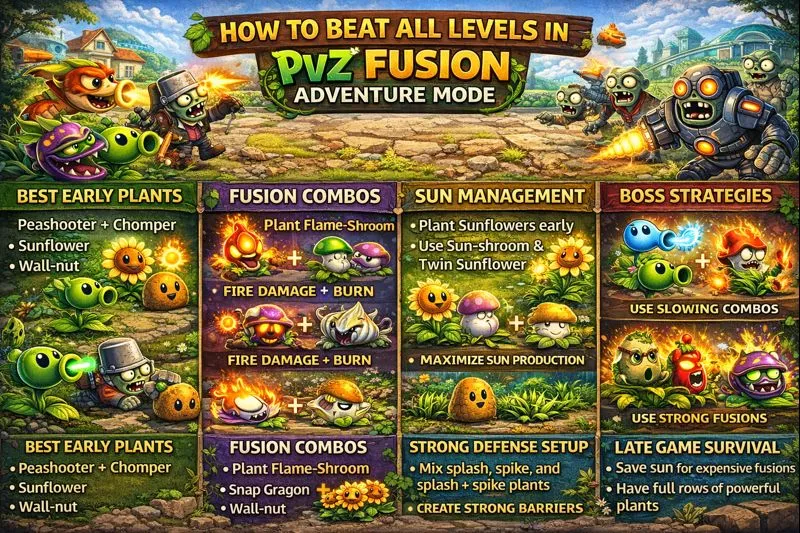
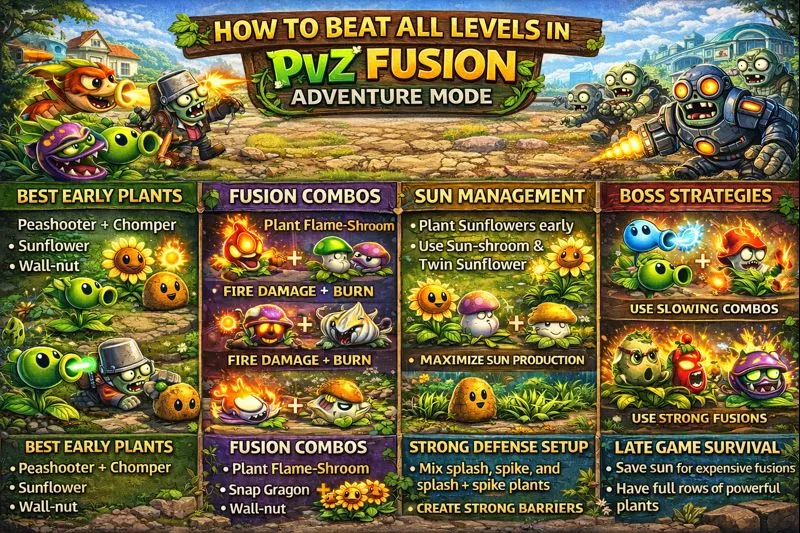
How to Beat All Levels in PvZ Fusion Adventure Mode
Stuck on a level in PvZ Fusion Adventure Mode while zombies keep breaking through no matter what you try? You’re not alone. Many players struggle because Fusion Mode looks simple on the surface, but small mistakes in plant choice and sun usage can completely ruin a level.
This guide is made for players who want to beat all levels in PvZ Fusion Adventure Mode, not just survive a few early stages. You’ll learn which fusion plants actually work, how to manage sun properly, and how to adapt your strategy as levels get harder, so you can clear Adventure Mode without frustration.
How PvZ Fusion Adventure Mode Works
PvZ Fusion Adventure Mode is built around combining plants to create stronger fusion units. Instead of relying on single plants, you must think about synergy, cost, and lane control. Zombies are designed to counter simple setups, which means repeating the same strategy rarely works for long.
Each level increases pressure by adding tougher zombie types, faster waves, or limited sun. Some levels test your economy, while others focus on crowd control or defense. Understanding what each level is trying to challenge is the key to beating it.
The goal isn’t to build the strongest fusion possible right away. It’s to build the right fusion at the right time, replace weak plants when needed, and adjust your setup as zombie waves change.
PvZ Fusion Adventure Mode: Levels 1–5 Strategy
Levels 1 to 5 are designed to teach fusion basics, not to overwhelm you. If you struggle here, it’s usually because of poor sun management or unnecessary fusions.
Level 1: Learn the Basics
- Zombies are slow and low health
- Sun is usually generous
- Only basic fusion options are available
Best Strategy:
- Focus on sun production first
- Use simple damage plants, not expensive fusions
- Do not fuse plants unless required by the level
Goal:
Understand placement and timing, not power.
Level 2: First Fusion Test
- Slightly faster zombie waves
- Game may encourage or unlock basic fusion
Best Strategy:
- Try one basic fusion plant only
- Place fusion in the center lane for maximum value
- Keep at least one pure sun producer
Mistake to Avoid:
Fusing too many plants too early and running out of sun.
Level 3: Lane Pressure Begins
- Multiple lanes start getting zombies together
- Some zombies appear in quick groups
Best Strategy:
- Use damage + speed or damage + control fusion
- Start thinking lane-by-lane, not screen-wide
- Reinforce weak lanes instead of stacking one lane
Key Tip:
If one lane breaks, the level is lost quickly. Balance matters.
Level 4: Economy Check
- Zombies are still manageable
- Sun feels tighter than before
Best Strategy:
- Do NOT rush high-cost fusion plants
- Maintain steady sun income
- Replace weak plants instead of adding more
Common Error:
Players overbuild offense and forget sun, leading to collapse mid-level.
Level 5: First Real Test
- Zombies arrive faster and in larger groups
- Mistakes become punishable
Best Strategy:
- Use 1–2 reliable fusion plants, not many
- Add a control element (slow or freeze if available)
- Save sun for emergencies
Winning Mindset:
This level rewards patience and smart replacement, not brute force.
Level 6: Pressure on All Lanes
- Zombies appear in multiple lanes at once
- Early plants start to feel weak
Best Strategy:
- Use 1 strong fusion plant per 2 lanes
- Keep sun production active at all times
- Replace weak early plants instead of stacking new ones
Mistake to Avoid:
Trying to defend every lane with the same plant setup.
Level 7: Control Becomes Important
- Faster zombies and grouped waves
- Damage alone may not be enough
Best Strategy:
- Add slow or freeze-based fusion plants
- Pair damage with control
- Protect key fusion plants with defensive units
Key Tip:
A slowed zombie wave is easier than a damaged fast wave.
Level 8: Sun Management Test
- Sun feels tight
- Mistakes snowball quickly
Best Strategy:
- Maintain at least 200 sun reserve
- Avoid high-cost fusion spam
- Use sun-producing fusion plants if available
Common Error:
Players spend all sun early and have no recovery options.
Level 9: Lane Priority Matters
- One or two lanes become more dangerous
- Zombies may target weak lanes
Best Strategy:
- Identify the most active lane and strengthen it first
- Do not over-defend safe lanes
- Move resources where pressure is highest
Winning Tip:
You don’t need equal defense everywhere. You need smart defense.
Level 10: First Major Difficulty Spike
- Fast waves and mixed zombie types
- Poor fusion choices are punished
Best Strategy:
- Use your most reliable fusion combo
- Add crowd control for large groups
- Save instant-use fusion plants for emergencies
Mindset:
This level is about survival and adaptation, not perfection.
PvZ Fusion Adventure Mode: Levels 11–20 Strategy
Levels 11 to 20 are where Fusion Adventure Mode becomes truly strategic. Zombies gain more health, appear in mixed groups, and punish slow reactions.
What Changes Here
- Armored and special zombies appear more often
- Sun pressure increases
- Bad fusion choices become hard to recover from
Best Strategy
- Build around 2–3 core fusion plants and protect them
- Combine damage + control (slow, freeze, knockback)
- Replace early-game plants that no longer scale
Key Tip
At this stage, winning is about maintaining control, not raw damage. If zombies are slowed or grouped, you can manage them.
PvZ Fusion Adventure Mode: Levels 21+ (Late Game)
Late-game levels are designed to break greedy or careless players.
What to Expect
- Very fast waves
- High-health and special zombies
- Little room for mistakes
Winning Strategy
- Use high-impact fusion plants only
- Focus on splash damage and crowd control
- Keep emergency sun ready for instant-use fusions
Late-Game Rule
One strong, protected fusion plant is better than many weak ones.
Best Fusion Plant Types for Adventure Mode
These fusion types consistently perform well across most levels:
- Sun + Damage Fusions → Long-term stability
- Freeze/Slow + Splash Fusions → Crowd control
- Defense + Damage Fusions → Holding choke points
- Instant Damage Fusions → Emergency use only
Avoid fusions that are expensive but only hit one zombie at a time.
Common Mistakes That Stop Progress
Many players get stuck because of these issues:
- Using the same fusion setup for every level
- Spending all sun too early
- Ignoring control effects like slow or freeze
- Not replacing outdated plants
- Overbuilding weak lanes
Final Tips to Beat All Levels
- Master a few reliable fusion combos
- Adjust strategy every few levels
- Watch zombie behavior, not just numbers
- Stay patient and don’t panic spend sun
- Consistency beats power in Fusion Mode.
Conclusion
Beating all levels in PvZ Fusion Adventure Mode is about smart fusion choices, sun management, and control, not brute force. Early levels teach basics, mid-game tests balance, and late-game rewards planning and patience.
If you adapt your strategy, protect your key fusion plants, and avoid common mistakes, you can clear Adventure Mode without frustration. Take your time, experiment wisely, and Fusion Mode becomes one of the most rewarding PvZ experiences.